HEARING AIDS
Why Moisture Is a Problem for Hearing Aids
By Team Hearzap | Oct. 24, 2025
Moisture is the quiet enemy of small electronics, and hearing aids sit right in the path of everyday humidity and exposure. Sweat, humidity, rain, accidental showers, and even the condensation that forms when you move from a cool room to a warm street can seep into tiny openings. Over time, water and vapour can interfere with microphones, receivers, batteries, and charging contacts. You might hear a muffled sound one minute and sharp feedback the next, or the device may cut out without warning.
If you use hearing aids every day, it pays to learn how to dry hearing aids properly and build a simple after-care routine. Drying is not only about fixing an occasional hiccup; it’s about protecting the delicate components so they keep doing their job for years. Typical moisture clues include crackling when you touch the shell, fluctuating volume after a sweaty walk, and a battery that seems to fade faster in humid weather. You can manage most moisture issues at home with a few safe tools and habits that fit easily into your evening routine.
Before we dive into step-by-step advice, remember that moisture management works best when paired with prevention. Think of drying as your nightly reset, and prevention as the set of daytime habits that make the reset fast and effective.
Safe and Effective Ways to Dry Your Hearing Aids at Home
If you’ve ever wondered how to dry a hearing aid without risking damage, start with methods that are designed for the job. The options below are safe, repeatable, and widely used in clinics and at home for routine care.
For behind-the-ear and receiver-in-canal styles, check the thin wire or tube for droplets and let them air dry before storage. In-the-ear models benefit from a few minutes with the vents facing downward so gravity assists. Whatever the style, gentle airflow beats direct heat every time, every night.
1) Use a Dedicated Hearing Aid Dehumidifier
The most reliable approach is a purpose-built dehumidifier (often called a drying kit or dryer). Some models use gentle heat and airflow; others rely on desiccant cartridges. Place the devices in the chamber as directed and let the cycle run, usually while you sleep. A full overnight cycle works well for most people, but always follow your device’s instructions.
Why it helps:
- It keeps the drying conditions steady, pulling out moisture even from those hard-to-reach spots.
- Reduces the chance of intermittent sound caused by damp microphones or receivers.
- Many dryers include a sanitising or UV-C step for added hygiene.
What to look for:
- A chamber sized for your style with clear cycle indicators.
- Replaceable or rechargeable desiccant so performance remains steady over time.
Many people keep a hearing aid dehumidifier, a UV-C hearing aid dryer, or a simple hearing aid drying jar on the nightstand so the routine becomes second nature.
2) Use Silica Gel Packs (With Caution)
Hearzap (whenever one makes the purchase) provides Silica gel which is, the small packets found in shoe boxes and electronics - is a handy backup. Place your hearing aids in a sealed container with a fresh, intact silica pack and leave them to dry. Replace or recharge the pack as indicated by its colour strip or instructions. Keep the beads contained; loose granules can slip into microphone ports and create new problems.
Quick pointers:
- Choose medical-grade desiccant jars designed for hearing aids when possible.
- Keep openings facing down so gravity helps any residual moisture move away from sound ports.
3) Wipe Down with a Soft, Dry Cloth
After exercise, time outdoors, or any humid day, give your devices a quick wipe with a lint-free microfiber cloth. Focus on the shell, microphones, battery contacts, and receivers. This one-minute step keeps surface moisture from migrating inside. Hearzap provides a dry cloth along with the purchase of the hearing aid, so one doesn’t have to worry about buying the same, separately.
Do not use:
- Paper towels (they shed fibres that cling to ports).
- Alcohol or disinfectant wipes (these can dry out seals and coatings).
- Heat from a radiator, hairdryer, or heater (more on this in the “what not to do” section).
A tiny brush from a hearing aid cleaning kit can also help flick away sweat crystals or dust that settles around the microphone mesh.
4) Open the Battery Door Overnight
For devices with disposable batteries, leave the battery door open when the aids are out of your ears. This simple habit lets trapped moisture evaporate naturally and prevents slow power drain. For rechargeable models, follow the manufacturer’s guidance - most are designed to rest and dry in their charging case or in a hearing aid dehumidifier between uses. If ear domes or earmoulds feel damp after a workout, remove them from the receivers and let them air dry on a clean tissue before reattaching.
What NOT to Do When Drying Hearing Aids
Fast fixes that circulate online can be risky. Avoid these common mistakes to protect sensitive electronics:
- Microwave or oven drying. Extreme heat can warp plastic shells, melt adhesives, and damage internal components.
- Hairdryer on high heat. Even warm settings concentrate heat in one spot and may harm speakers or microphone membranes.
- The rice method. Loose grains and dust can enter openings, and plain rice is an unreliable desiccant compared to purpose-made products.
- Submerging in liquids or using sprays. Water, cleaning sprays, and solvent-based products can push moisture deeper or leave residues that block ports.
If your aids have become soaked (from a swim, a heavy downpour, or a run through the washing machine), dry them gently with a cloth, remove the batteries if applicable, and place them immediately in a drying kit or a desiccant jar. Severe incidents require a professional inspection to rule out hidden damage, especially if the sound remains weak after a complete drying cycle.
Preventive Tips to Reduce Moisture Buildup
Even after you learn how to dry out a hearing aid, prevention is your best friend. These small changes keep devices comfortable and reliable throughout the day:
- Remove hearing aids before showering, swimming, applying hair products, or visiting a sauna.
- During workouts or hot weather, use a sweatband, ear-level clip, or specialised hearing aid sweat covers to keep perspiration away from ports.
- Consider a light cap or umbrella in sudden monsoon bursts; a little shade deflects the worst of wind-blown drizzle.
- Carry a small microfiber cloth to dab down devices after outdoor activity, a brisk walk, or a commute on a humid day.
- Store your aids in a cool, dry spot - never in the bathroom where steam is common. A bedside table or desk drawer paired with a desiccant jar works well.
- Keep a travel-size drying jar in your bag so you can start the drying process the moment moisture is a concern.
- When exploring new devices, look at IP ratings and water-resistant designs to add a margin of protection for daily use.
- Build a weekly routine: empty wax guards as advised, check tubing for droplets in behind-the-ear models, and refresh your desiccant on schedule.
- Book an occasional hearing aid service centre visit for a clean and check, especially after a rainy season or an active holiday.
By combining these habits with a nightly drying routine, you’ll know how to keep hearing aids dry across seasons, routines, and travel.
Conclusion
Moisture problems rarely show up as a single dramatic failure. More often, they appear as small, confusing hiccups – sound fading during a workout, a battery that seems to drain faster on humid days, or feedback after a surprise rain shower. A calm, repeatable routine gives you control. Use a hearing aid dehumidifier or desiccant jar overnight. Wipe devices after sweaty moments. Open the battery door when applicable. Avoid high heat or quick-fix tricks. If an aid is unexpectedly soaked, act quickly: blot gently, remove disposable batteries, and start a full drying
Cycle before powering up again. Treat your nightly drying as essential maintenance—just like charging your devices or putting your glasses back in their case. With a few simple habits, you can protect microphones, receivers, and tiny seals from the long-term effects of moisture. The result? Cleaner sound, fewer interruptions, and a longer device lifespan.
If you’re unsure about the best care routine or drying tools for your hearing aids, Hearzap can help. Explore expert tips and care accessories on the Hearzap app or website to keep your devices performing their best. Start your hearing care journey with Hearzap today!
FAQs
How often should I dry my hearing aids?
Daily is a smart baseline. A quick wipe after damp activities and a full overnight session in a dryer or desiccant jar keeps moisture from building up.
What’s the best way to dry out hearing aids?
A purpose-built dryer or desiccant jar is reliable for routine care. Pair that with gentle wiping and safe storage for day-to-day control.
Can I use a homemade hearing aid dehumidifier?
A sealed container with fresh silica gel can help in a pinch. Purpose-built options are more consistent, though, and many add sanitising steps that home setups lack.
Are waterproof hearing aids immune to moisture?
Water-resistant models add protection, but they aren’t invincible. Sweat, steam, and accidental submersion can still cause trouble, so a simple drying routine remains important.
Related Blogs
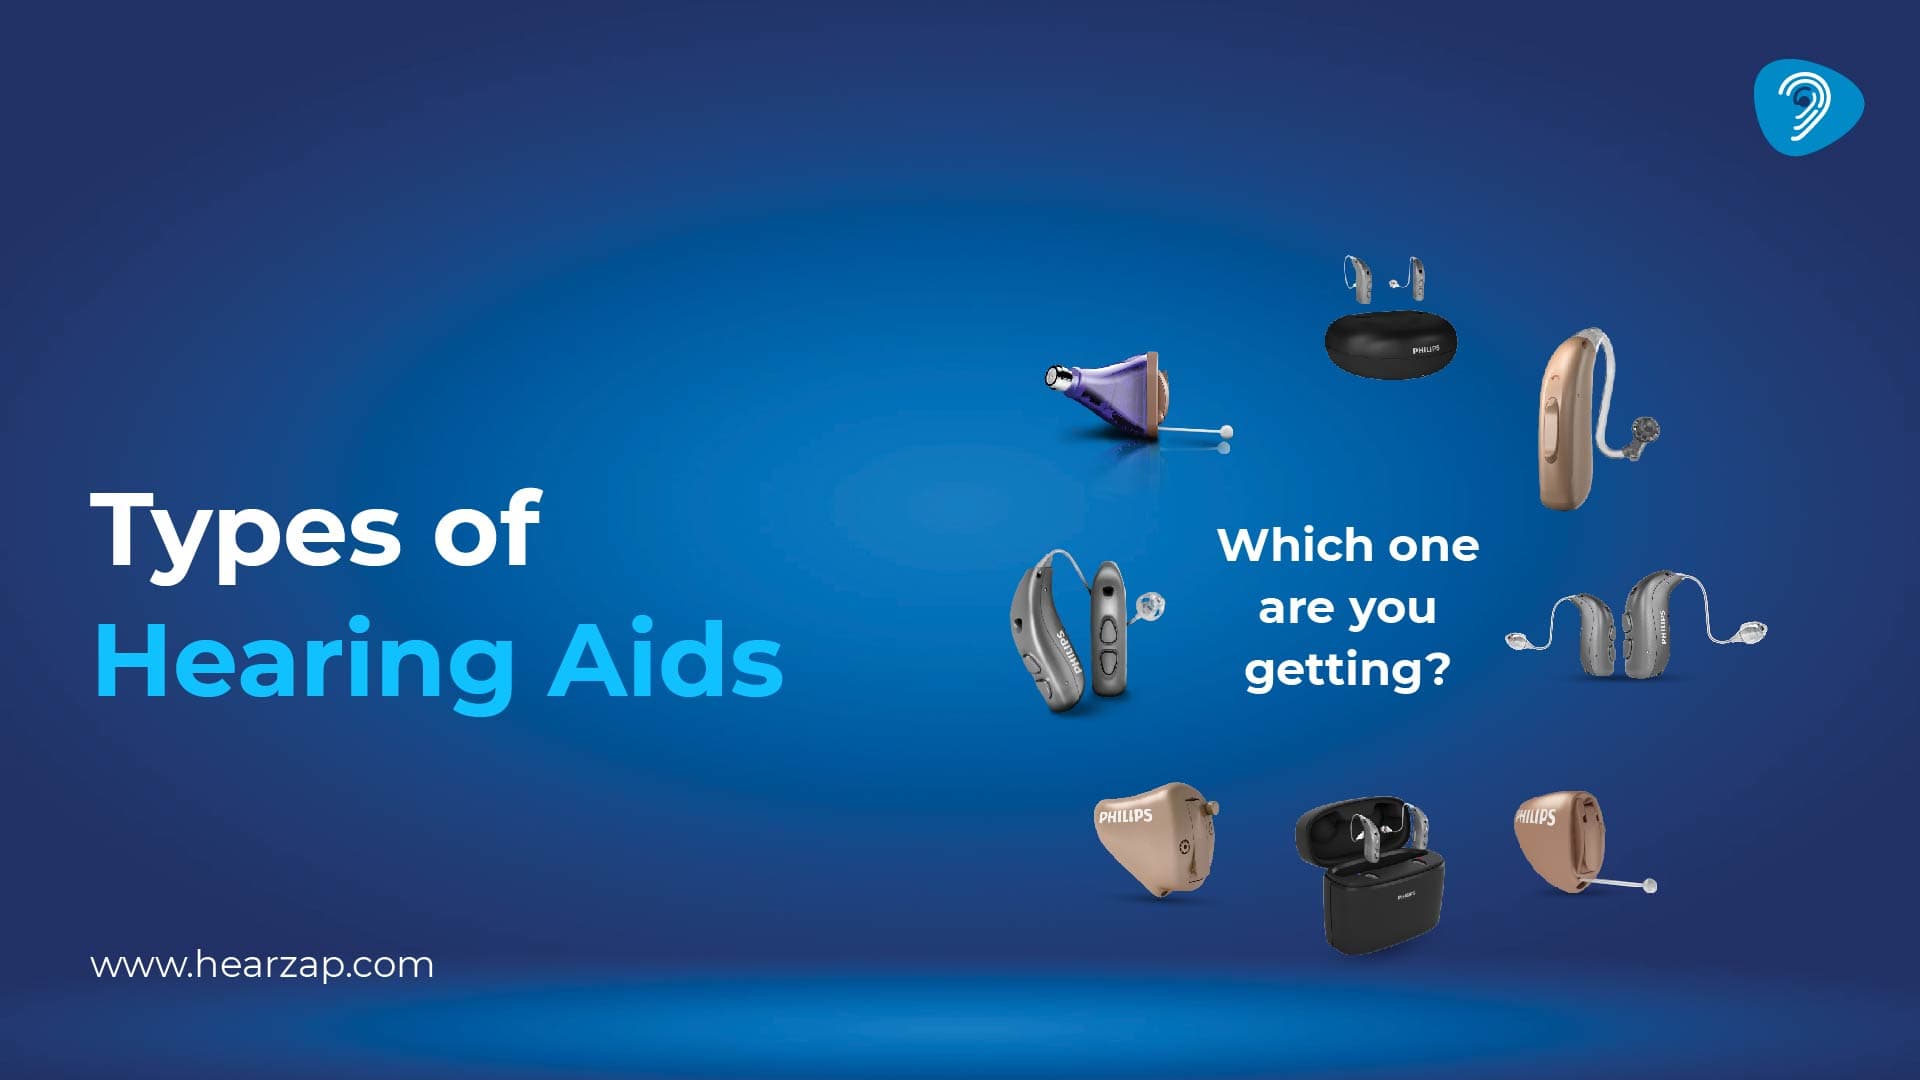
Types of Hearing Aids
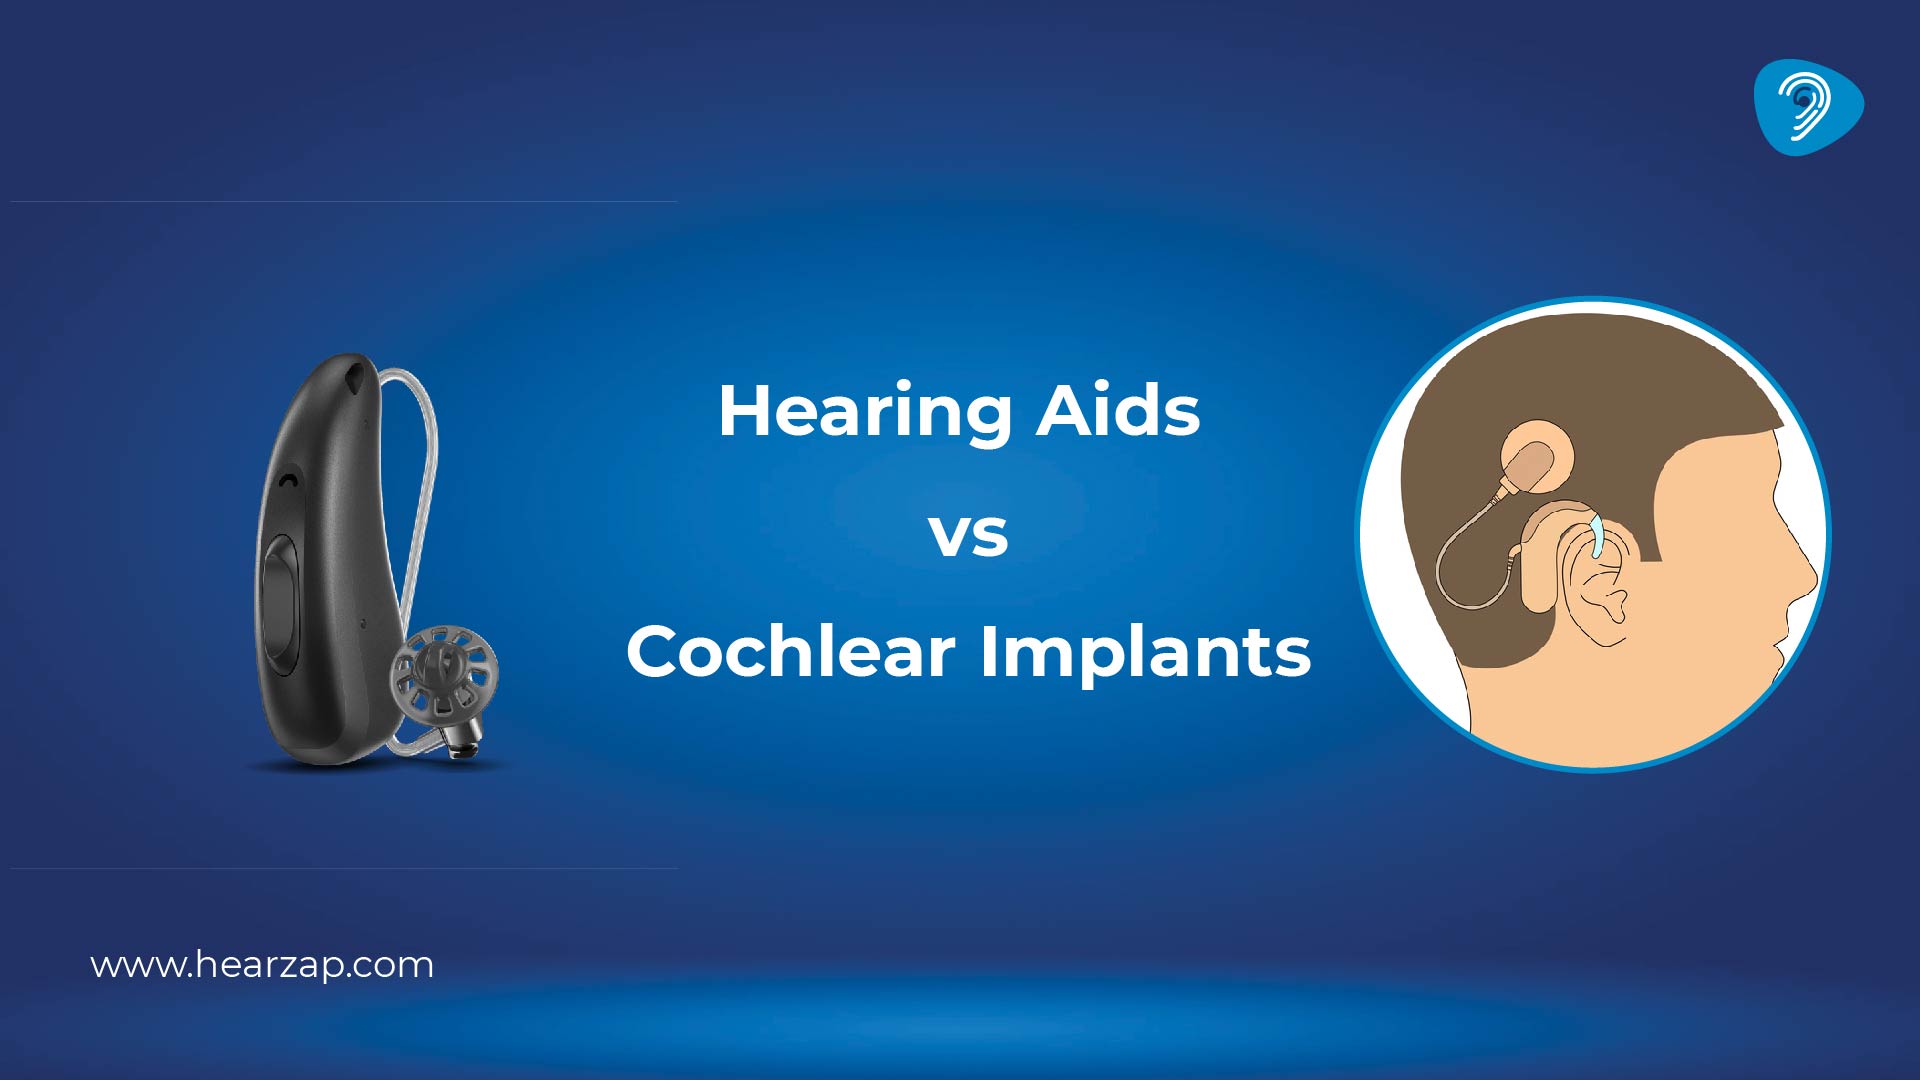
Hearing Aids vs Cochlear Implant
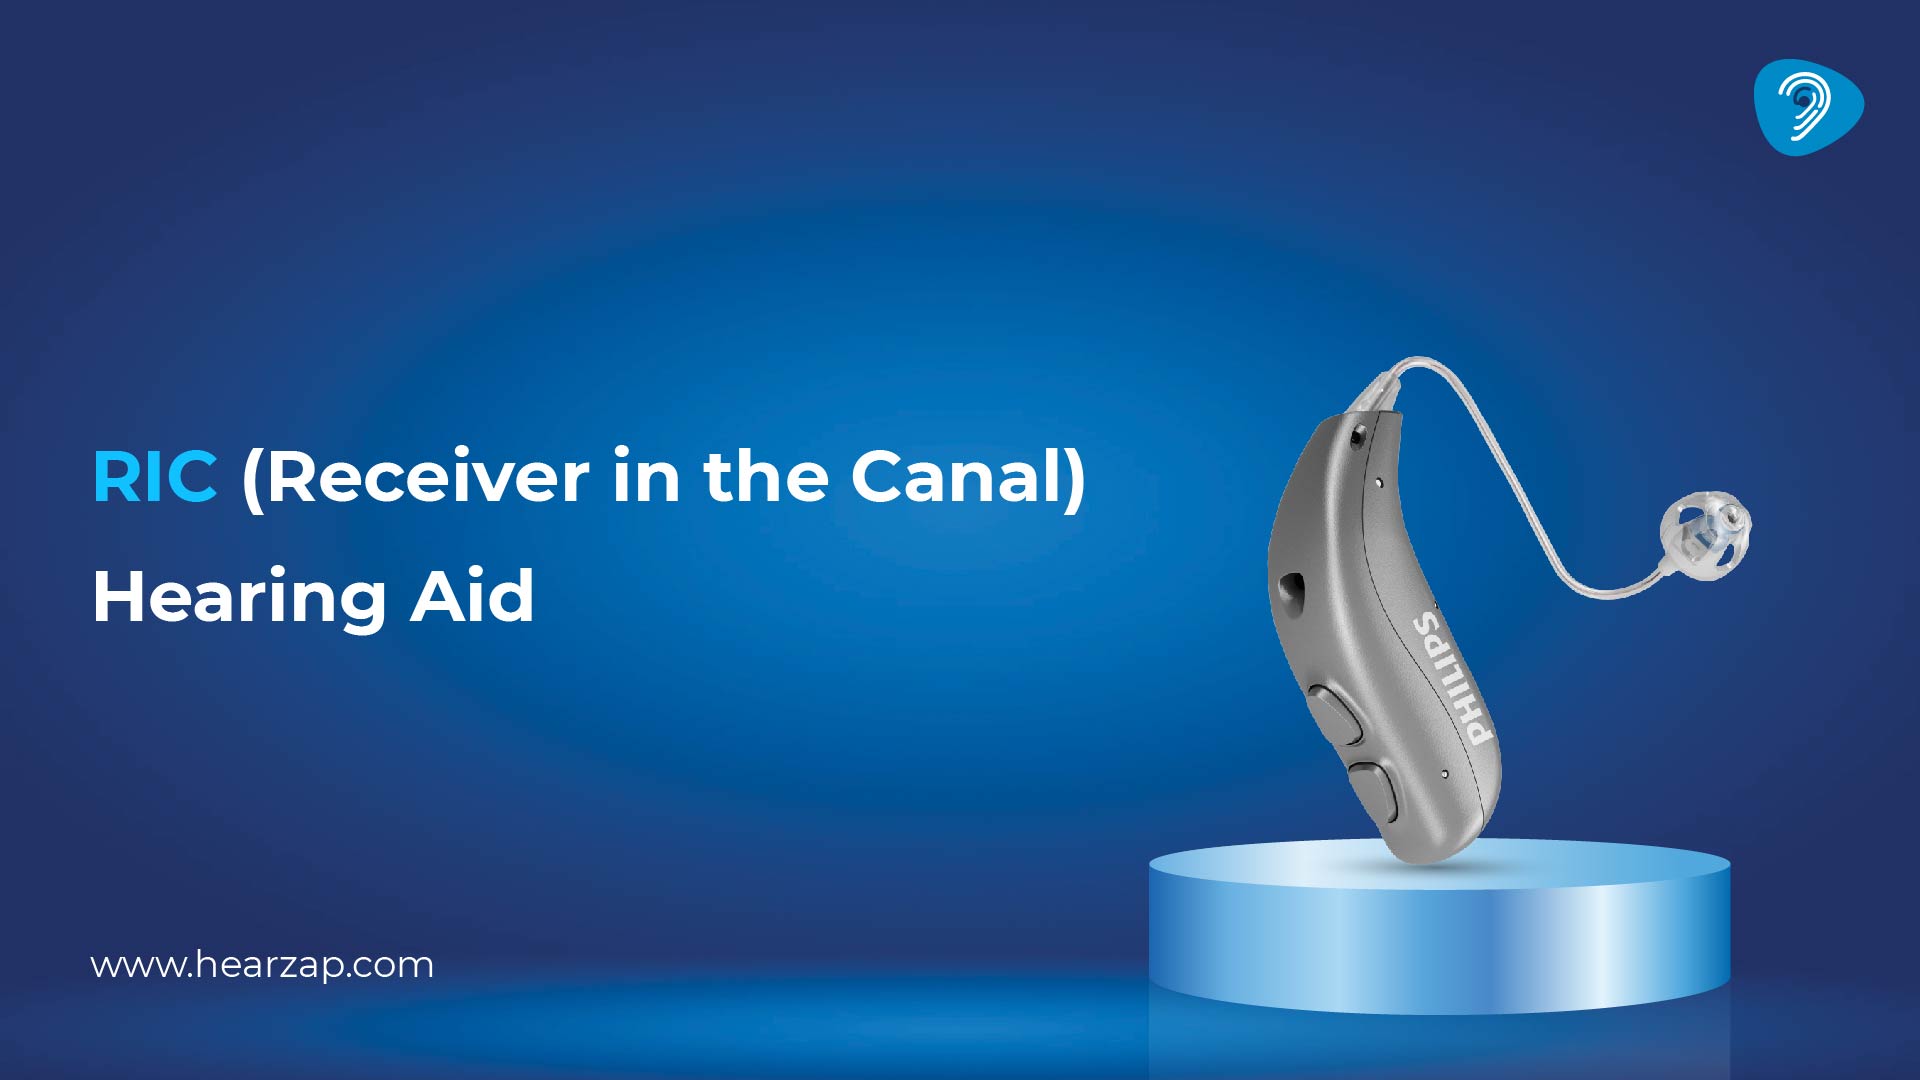
RIC Hearing Aid: What You Need to Know
Contact us
We are here for all your hearing needs, from hearing tests to hearing aids. Fill out the form below, and we will give you a call soon.
Recent Blogs
By None | Jan. 22, 2026
By None | Jan. 20, 2026
By None | Jan. 12, 2026
By None | Jan. 6, 2026
By None | Jan. 5, 2026